Sorry for a long absence. Obviously, this blog has fallen off of my priorities list. What can I say? Life happens. But don’t be surprised if you see a post from me here and there in the future, though not as religiously as I had previously tried to post. And I think an update is due in the next few weeks, to the pages that are on this blog (I’ve already started, you may notice), and to its overall theme. My life is very different now and a change is appropriate.
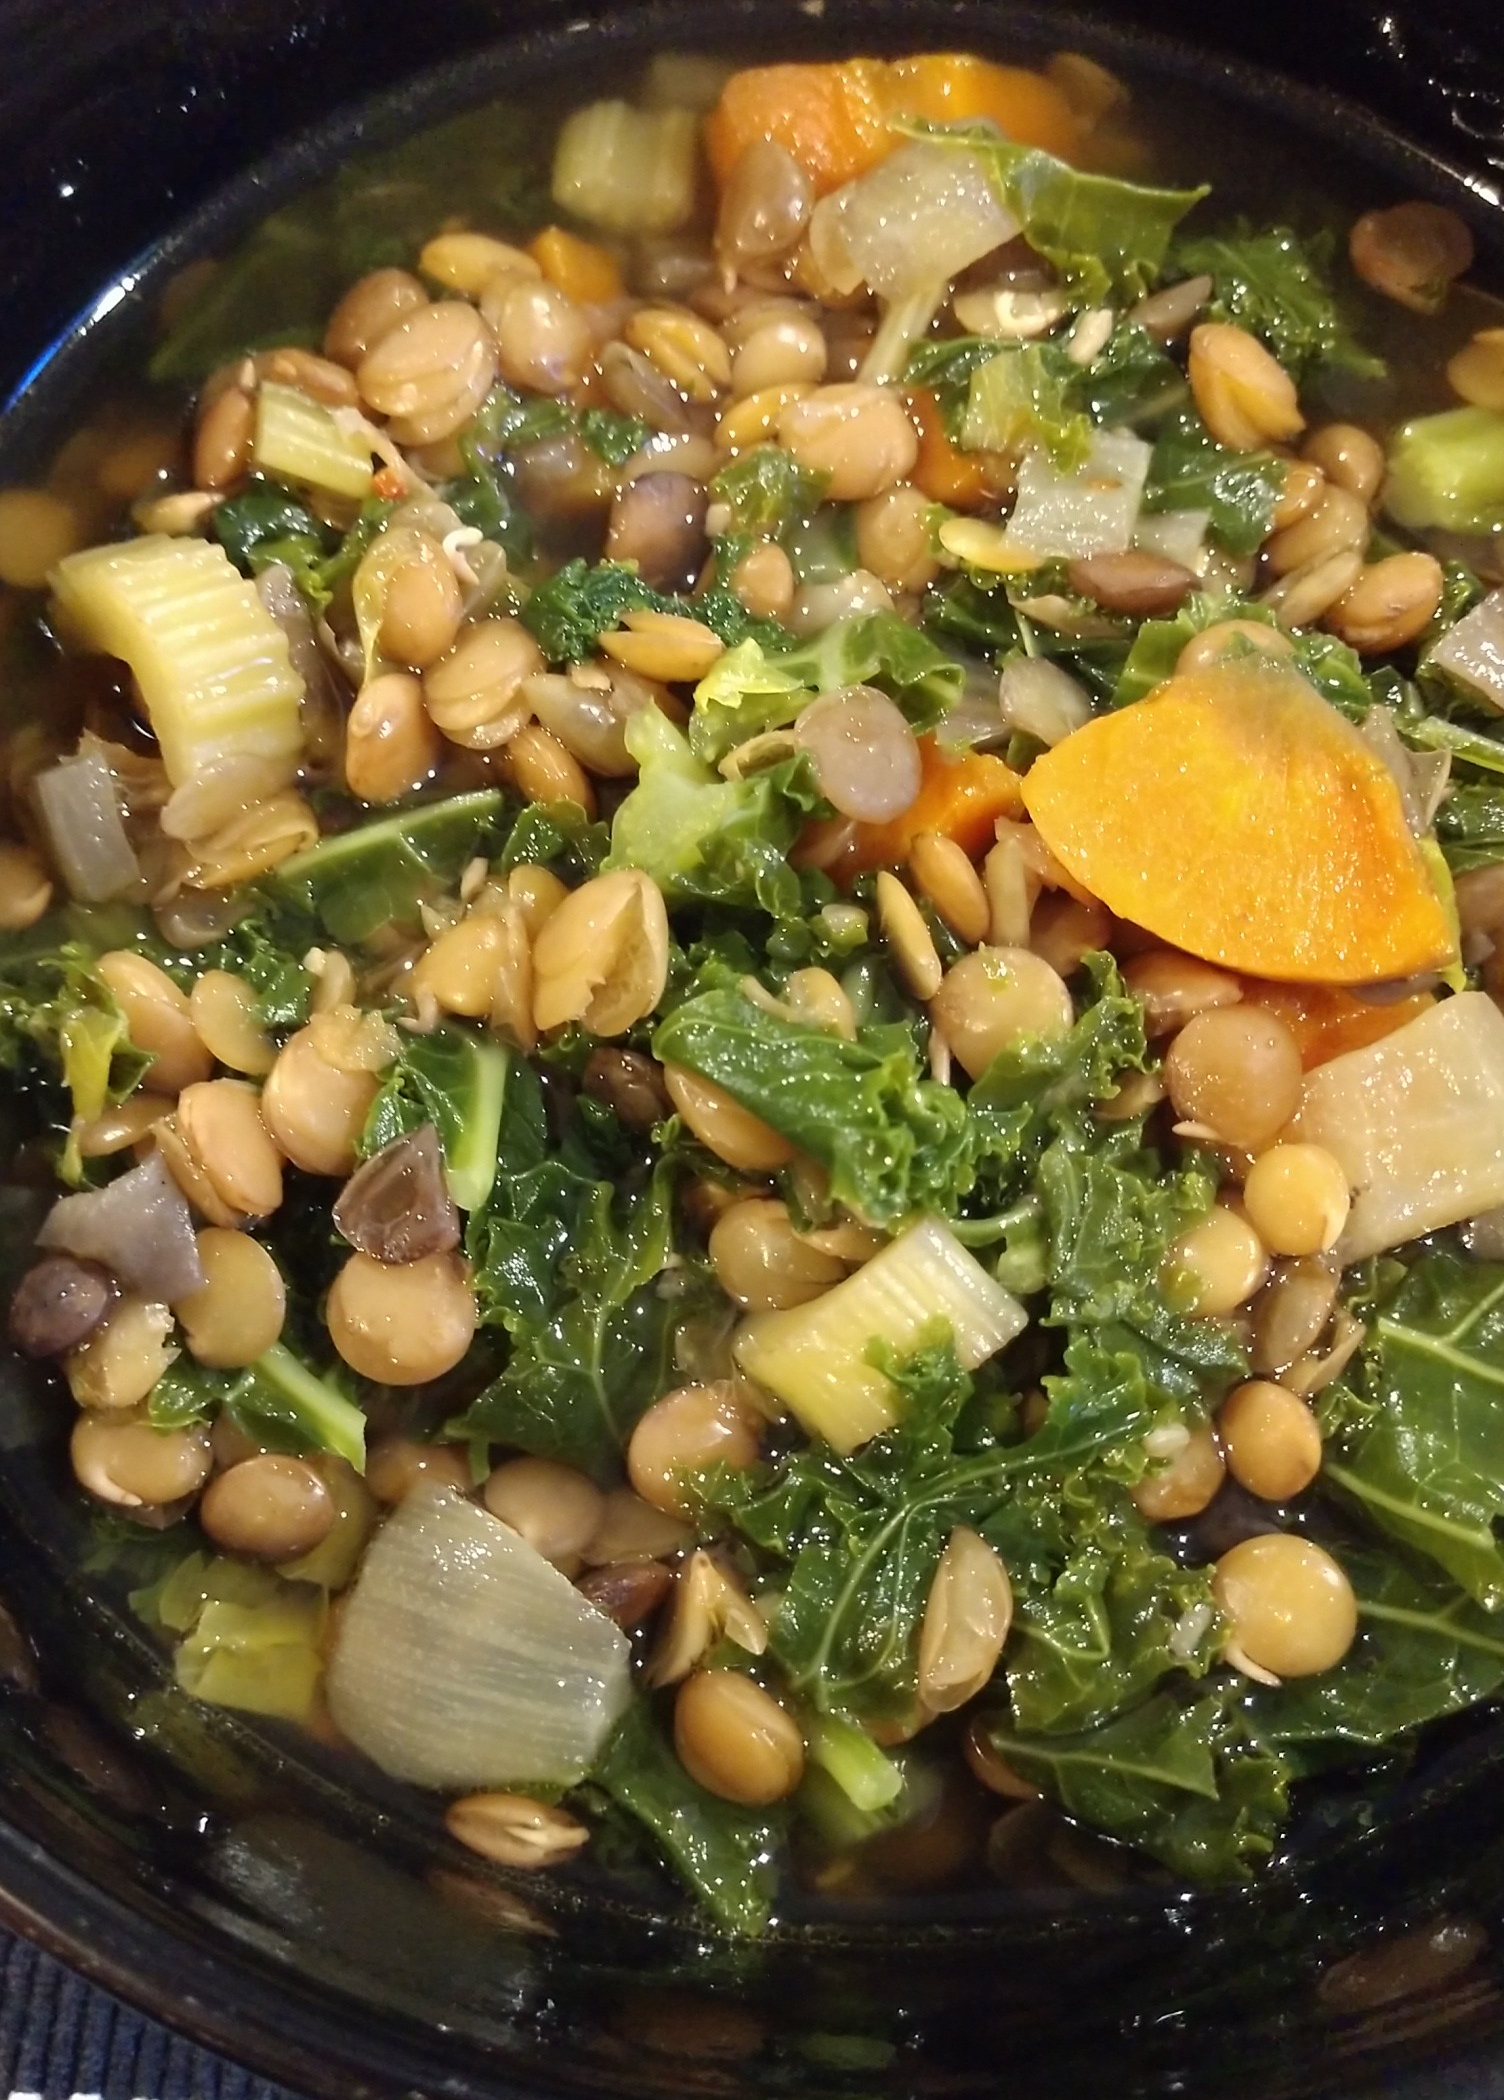
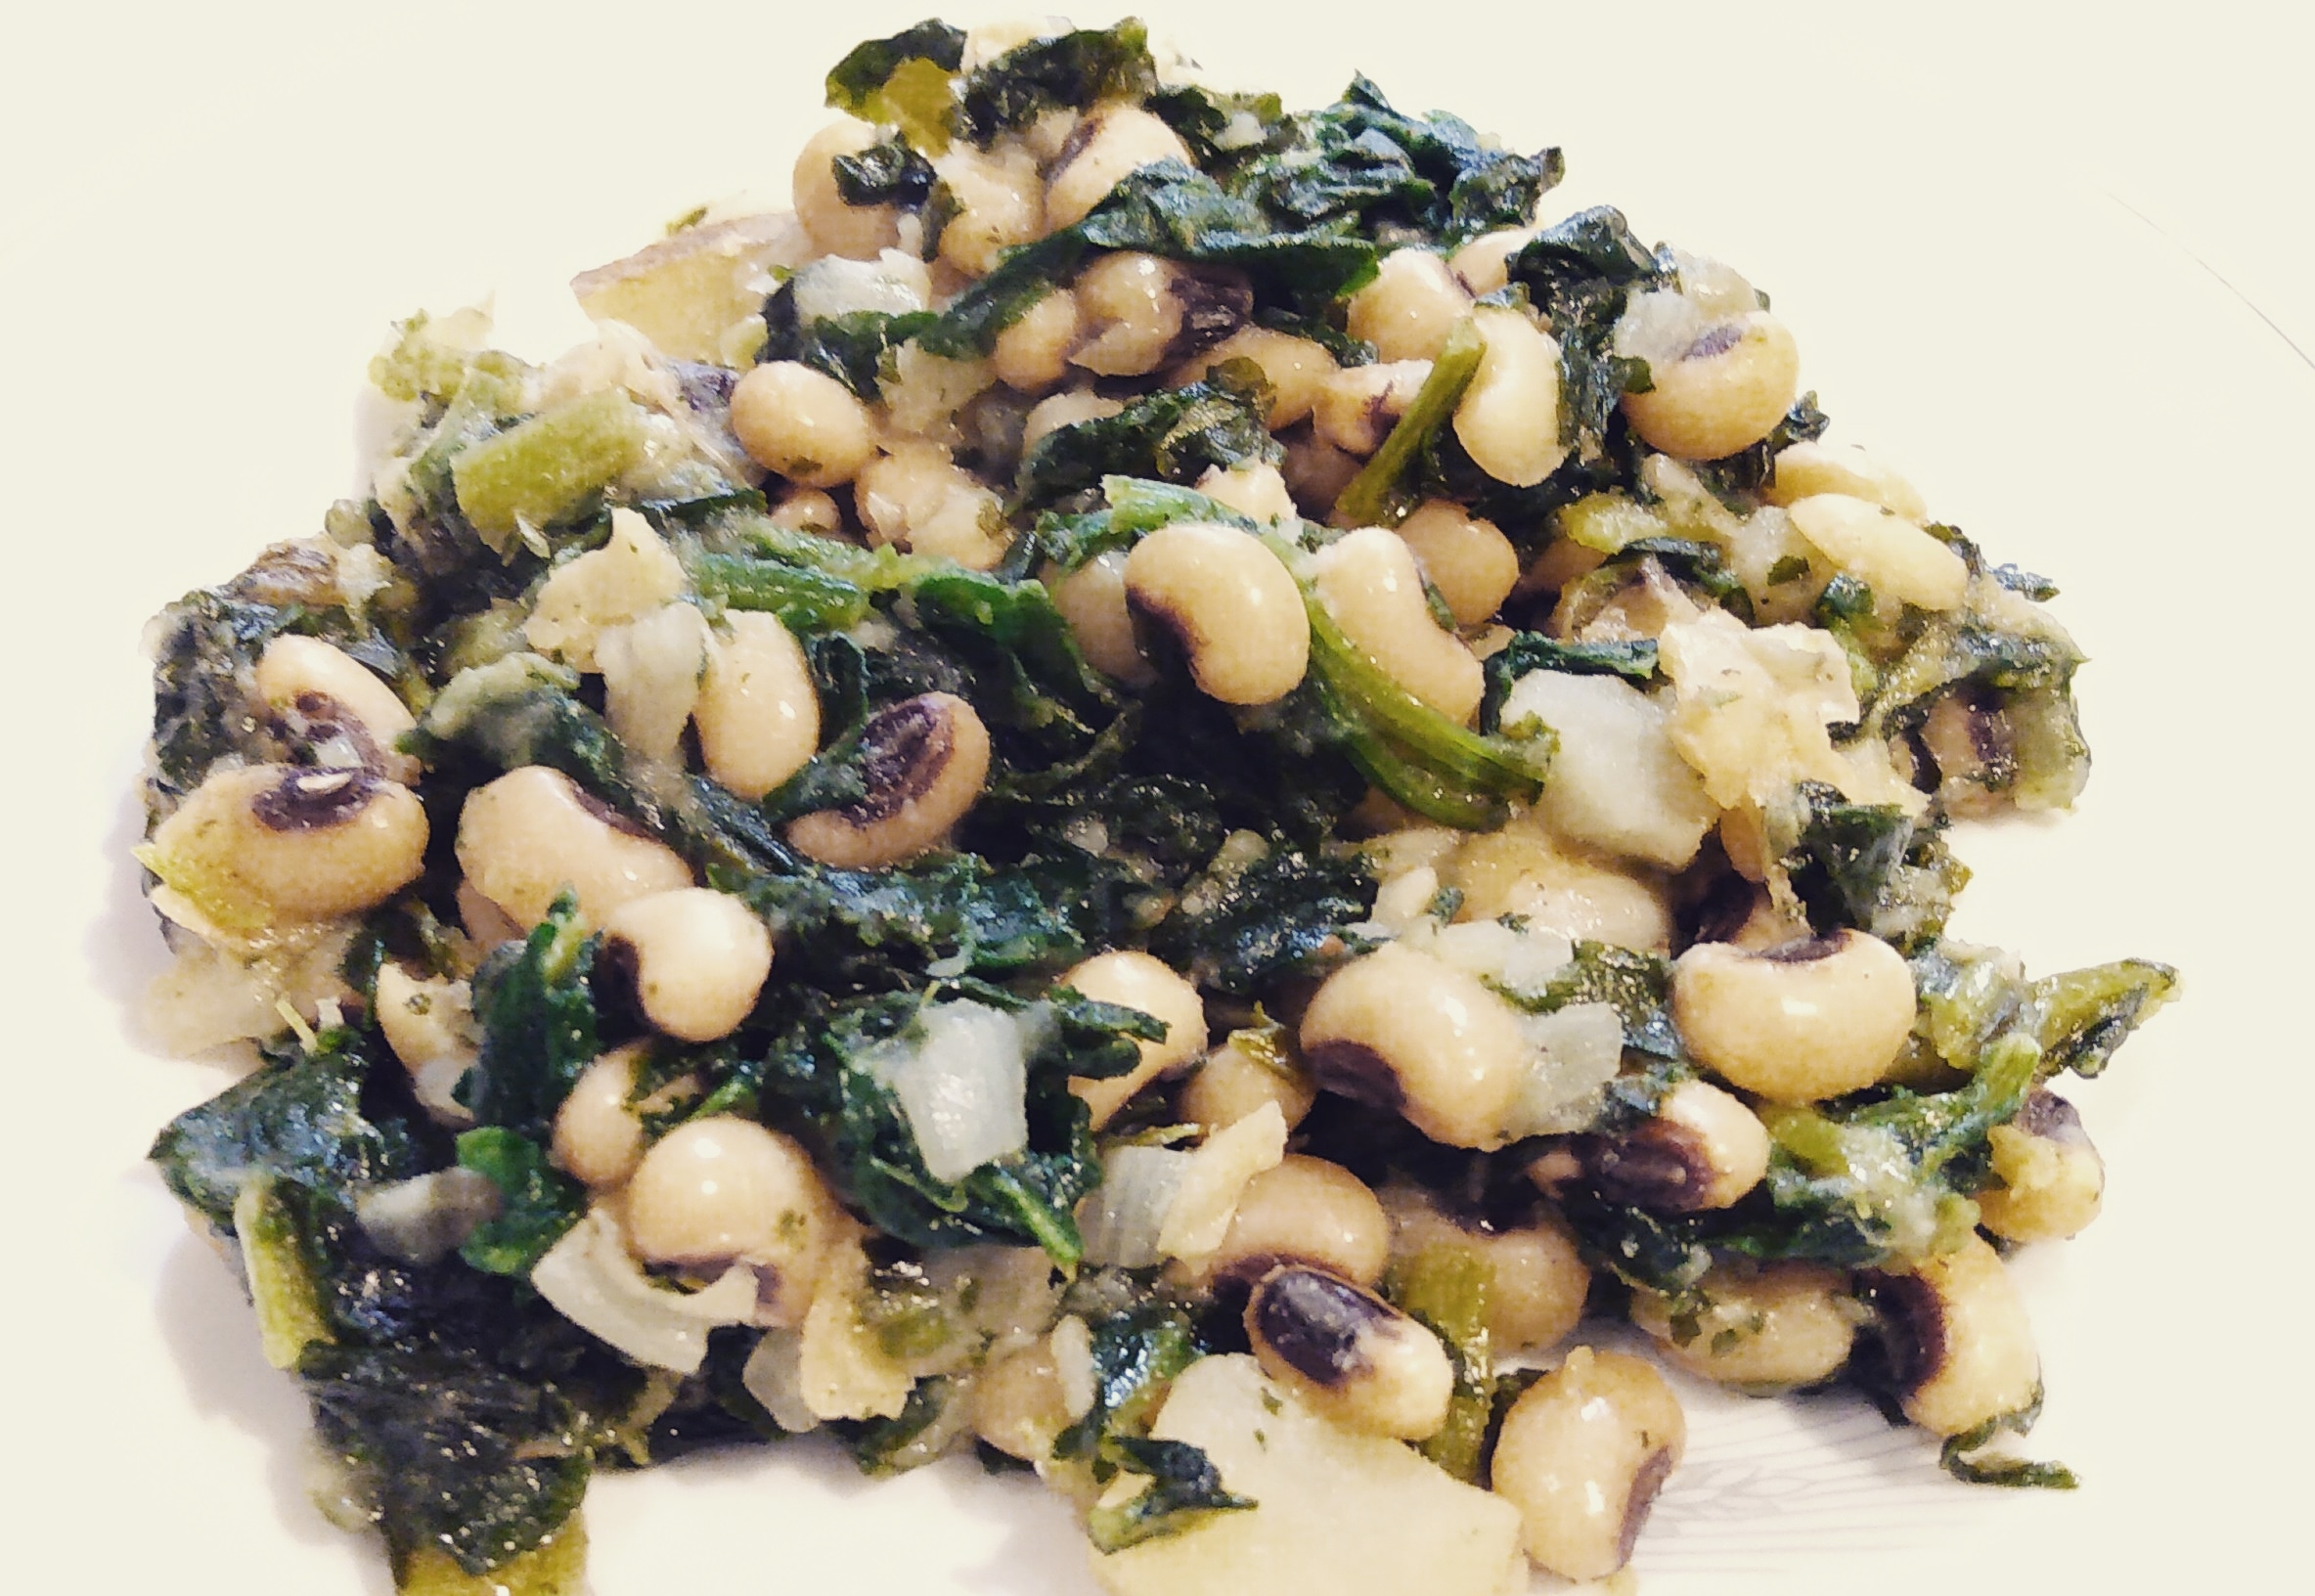
In any case, I’m eternally curious about black-eyed peas. I tried them once before and they were fine, but not something I’d write home to my mother about. So several years ago, determined to give them another shot, I found this recipe in the “Fix-it-and-Forget-It Vegetarian Cookbook” and bookmarked it (with a real bookmark! Like…NOT on the internet!) and promptly forgot it. Until tonight. Now, how I got so many turnip greens in my freezer I am not entirely clear on, but there they were, and a package of black-eyed peas as well. I actually added in about 2 cups of fresh spinach that really needed to be used up. Now, I did have to plan ahead enough to pull these frozen things out of the freezer and thaw them, but I have to say…when I know that I’m shoving some greens into a pan to wilt them, I really like using frozen greens. They’re already cooked. I just have to let them soak up the juices. It is one of my favorite shortcuts. Plus, wilting greens is so demoralizing. You start out with so many and it boils down (literally and figuratively!) to so few.
So…black-eyed peas the second time around? Pretty dang good! This recipe was so simple. Maybe a little too simple. I feel like it could have benefited from some herbs and spices. But instead of vegetable broth I substituted some vegan no-chicken broth and that made it salty and nice, so not bad at all! I’ll be putting this back on my menu and trying some herbs and spices in it next time to see what can happen.
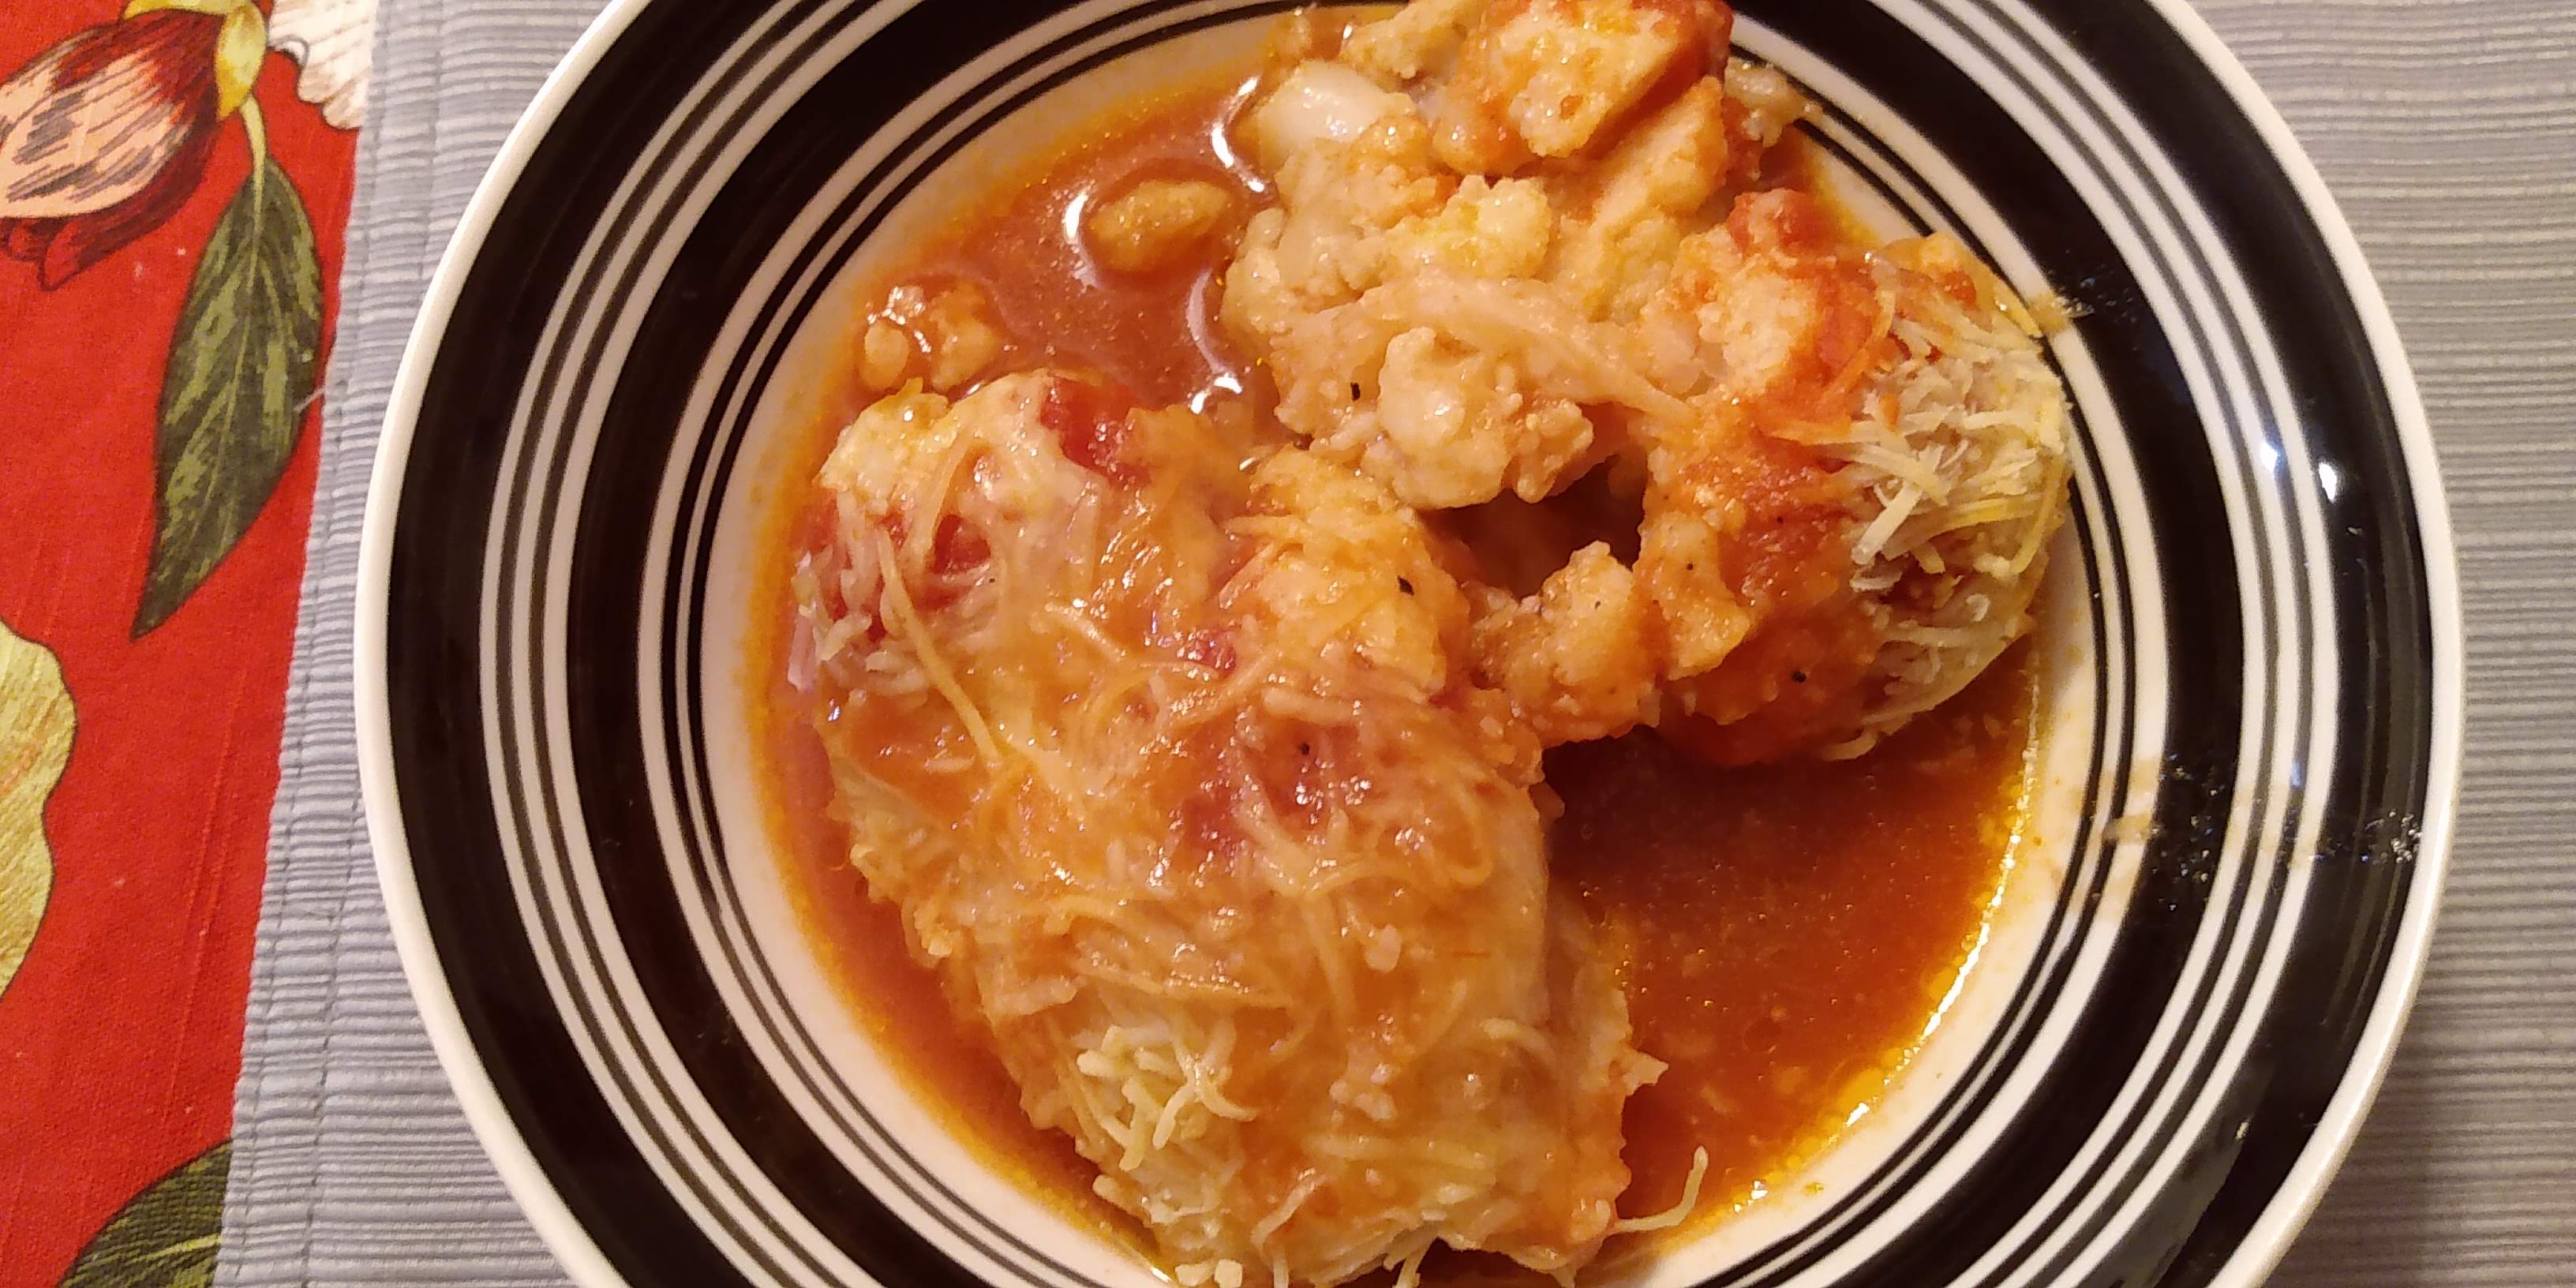
Black-Eyed Peas with Turnip Greens
1 medium potato, peeled and diced
1/4 cup onion, diced
16-oz. vegetable broth
16-oz. bag frozen black-eyed peas, thawed
6 cups fresh torn turnip greens or 1 package frozen turnip greens, thawed
salt and pepper, to taste
1. In a large saucepan, simmer turnip or potato with the onion in the vegetable broth until it can be pierced with a fork.
2. Add the beans, cover, and cook 5 minutes more.
3. Add greens and cook till wilted.
4. Season with salt and pepper.
Black-Eyed Peas with Turnip Greens

")