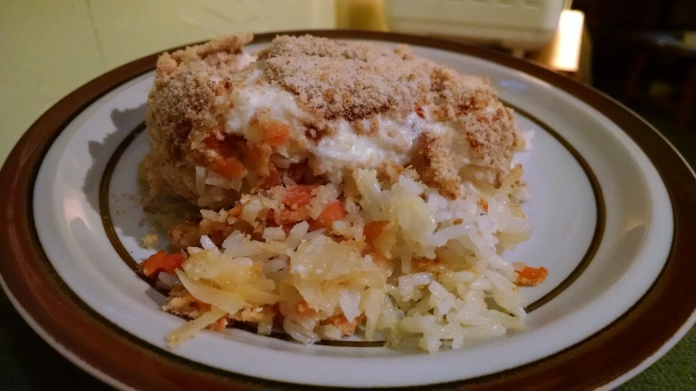
Gratin of White Turnips, Carrots, and Rice
I got my copy of “Superfoods: 300 Recipes for Foods that Heal Body and Mind” by Dolores Riccio at a really awesome sale at one of my local used bookstores. I have always liked turnips, but I’m sick of doing the two things I do most often with them: mash them with my potatoes or slip them into a stew. I wanted something different. This recipe might be my new favorite way to eat turnips. It’s really delicious. Of course, with all that butter and cheese and milk in it it’s not really a super healthy recipe, but I figure I can have it here and there in my life. If you want some meat with this, then I will tell you that I split the recipe in half into two baking dishes and made the one pictured here for me and made one for Jake with chicken in it. I made it super easy on myself and just fried and then shredded a couple of chicken breasts and mixed them into the rice and turnip mixture. If I’d thought ahead a little more I might make a chicken gravy instead of the mornay sauce for his dish of turnip and rice. He really loved it so I say go ahead and try this at home if you’d like. One thing that is missing here is seasoning. We found we had to add salt and pepper to our plates since there was none included in the cooking, but that’s a small price to pay for using up all the turnips I got from the CSA this week. The biggest problem with this recipe is that it takes a long to grate all the turnips and carrots. It’s super annoying. Now if you have a food processor it only takes a minute….I do not own a food processor, so I grated them all by hand and it took FOREVER. Ugh! This would also go a bit faster if you used leftover rice rather than making some fresh for this recipe. It’s easy enough to make a bit of extra rice for your stir fry one night and then save the rest for this the next night. Even with the difficulties I had with this recipe, I have to say, it was totally worth it and this one comes highly recommended.
Gratin of White Turnips, Carrots, and Rice
4 purple-topped turnips, peeled and grated
3 carrots, scraped and grated
1 tablespoon butter
2 tablespoons dry white wine
2 cups cooked brown or white rice
2 cups mornay sauce
1/2 cup dry breadcrumbs
1 tablespoon grated Parmesan cheese
paprika, to taste
for the mornay sauce:
2 1/2 tablespoons butter
3 tablespoons flour
2 cups milk
1/4 teaspoon white pepper
1/3 cup grated Parmesan cheese
1. Preheat the oven to 375F.
2. Heat the butter in a large skillet and fry the turnips and carrots for a couple of minutes, turning once.
3. Add the wine, cover, and steam till the veggies are reduced by half, about 5 minutes, making sure that the skillet doesn’t dry out.
4. While the turnips and carrots are cooking, start the mornay sauce by melting the butter in a medium saucepan and adding the flour, stirring well to combine. Cook it for 3 minutes, then add the milk (you can make it easier by warming the milk a bit in the microwave ahead of time) and keep stirring constantly till the sauce is bubbling. Add the white pepper and the cheese and whisk till smooth.
5. Combine the veggies and rice in a buttered glass baking pan with about a 1 1/2 quart capacity.
6. Pour the sauce evenly over top and sprinkle the breadcrumbs, paprika, and parmesan over all.
7. Bake till bubbly and brown, about 35 minutes.